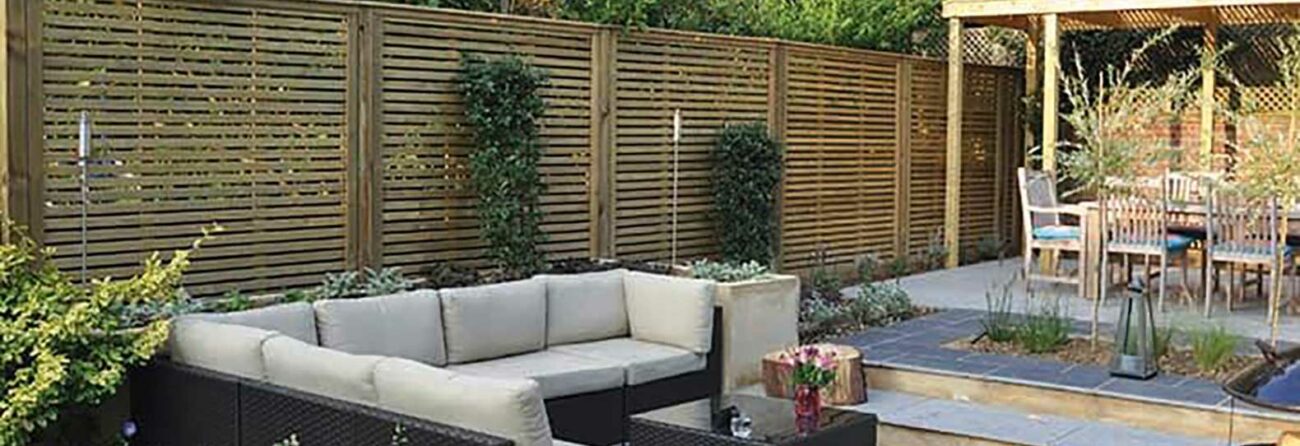
Your garden fence is an important part of your home: it marks out, protects and secures your garden. The good news is you can erect your own garden fence panels with a bit of help, the right tools and our step-by-step guide. Here’s how to get it right first time.
Step 1 Remove any old fencing and also any plants that are along your boundary line; you can always re-plant them once the fence is up. Then use a string line to determine where your fence will go, hanging it between the two end posts. Then measure and mark out where the posts will be with marker pegs. Allow for the fence post to project above the top of the fence panel by about 50mm (2 inches). Always double and triple check your measurements.
Step 2 Dig 450mm (17 inches) down under where the post is, making the hole as wide as a spade. You can use a post spike to sit the post into although these aren’t ideal if the ground is a bit stony so it’s often better to use concrete.
Step 3 Put your post into the hole, ensuring it’s in the correct position, completely upright and the top of the post is sitting just below the guide line. Use a spirit level on both sides to ensure it’s upright and then nail in support posts to keep the post in place temporarily. Repeat this with every post you’re using
Step 4 Attach two fence clips to each post and then, this is a two man job, slide the panel into place between two posts. Your panels will then need to be screwed to the clips and the fence raised about 50mm from the ground, by resting on bricks or blocks (gravel boards will be attached later in the process). Repeat this with every panel until your fence is in place.
Step 5 Using fast-setting Post-Mix Concrete it’s then time to set your fence posts. The beauty of this product is you can mix the right amount in the hole by just pouring in water onto it. Find out how to get the most from Post-Mix Concrete with this guide. It’s worth making the concrete into a slight mound shape, rather than flat, so rainwater will easily run off. The concrete should take about 20 minutes to set. After which, you can move onto the next hole and do the same.
Step 6 Add post cap to the top of your posts for a finishing touch, choosing from a simple square or more elaborate ball or filial shape. This is also the stage to fit gravel boards and also trellis as a finishing touch for your new fence.
Want to know more about adding finishing touches to your fence? We’ve got all the inspiration you need here.


