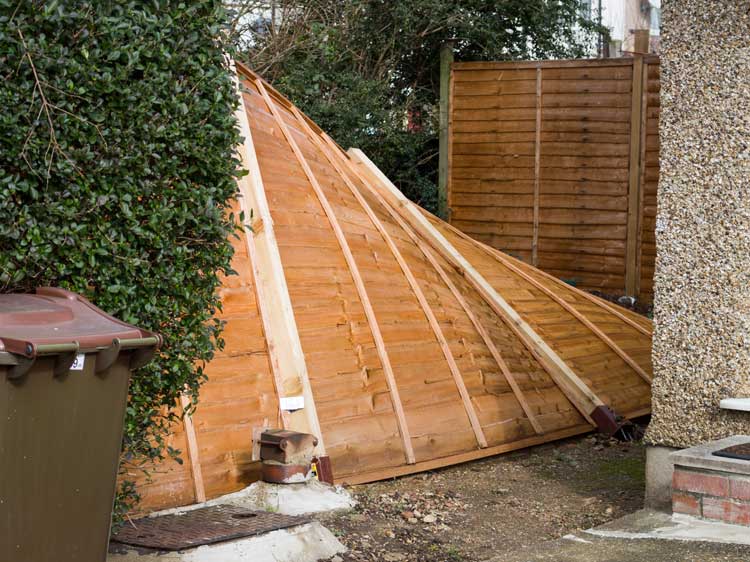
Nothing makes a garden look messy like a broken-down, old fence panel. But there are only so many times you can nail a fence panel back up. Here’s how to get that fence replaced properly so it looks great and lasts for a long time.
Step 1 Use a crowbar or hammer to prise away the old panel. This can be a dangerous job so it’s best if you get someone to help you.
Step 2 Dig out the old post, including the concrete at the bottom too. Ensure the hole is 65-70cm deep so your new post stays secure. Check your new post is sitting at the same height as your other posts, using a string line to create a straight line, if needed and a spirit level to ensure your post is also standing straight.

Step 3 Once you’re happy with the post’s position, prop it up temporarily using support props to ensure the post is kept secure and is in the right position before you set it.
Step 4 Set your fence posts using fast-setting Post-Mix Concrete which you can mix in the hole by pouring water in (our guide to Post-Mix Concrete will tell you more). One tip is to let the concrete set in a slight mound shape, rather than flat, so that rainwater will run off.
Step 5 Once the Post-Mix is set, after about 20 minutes, repeat with the other post, if needed. Then it’s time to slot the new panel in place. Attach two fence clips to the two posts equal distance from the top and bottom. Then (with the help of a second person) lift the fence panel up and insert it into place. After that, screw the fence clips on to secure the panel in place.
Want to know how to erect a whole fence using fence panels? Our guide will tell you how.


